Now that you successfully setup FRAPI (Both the admin and the frontend side) you must create your first action. As the Running on nginx and the Running on Apache pages refer to the administration interface url as http://admin.frapi, we'll use that URL in this example.
This document will walk you through creating your first action
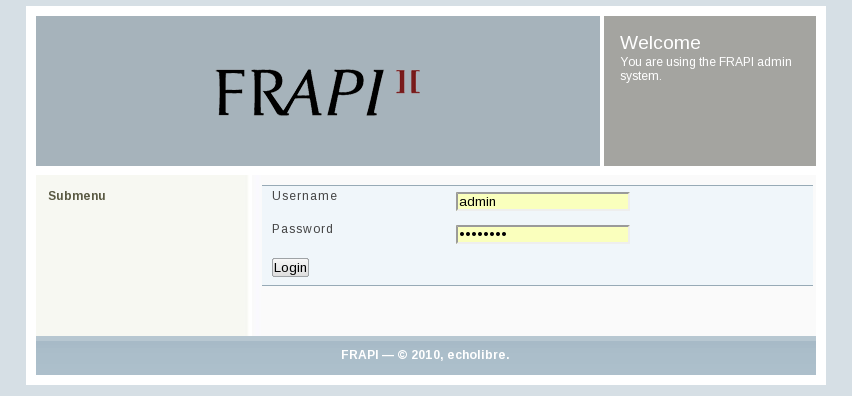
Firstly you must go to the admin interface and login. The default username is: admin and default password is: password.
Once this is done click on "Actions"
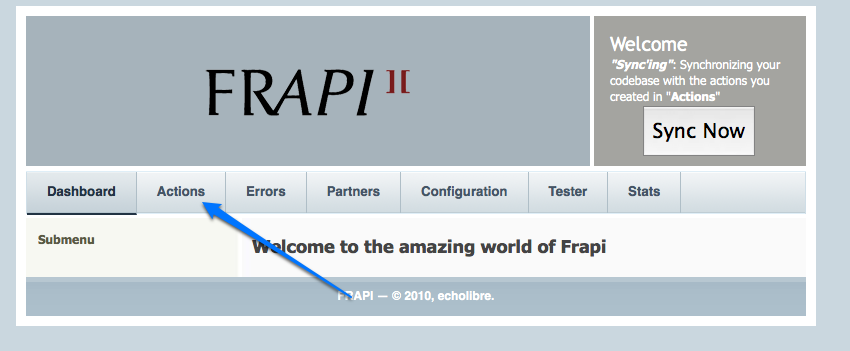
and you will be directed to this screen
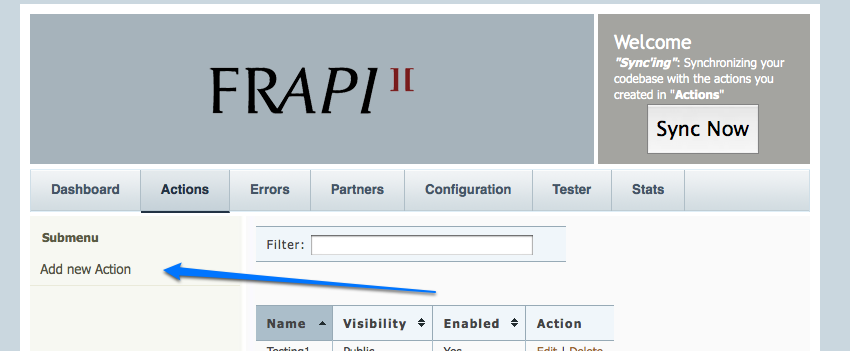
and as the arrow suggests, click on "Add new Action".
The following screen will then be displayed, prompting you for the information necessary to create your own action.

The fields displayed on this screen are described below.
/user/:user_id and it was called like so: http://api.frapi/user/2 then inside your action the $user_id variable would be 2.Below the simple admin interface for adding actions you will notice the Add Parameter section.

To start adding parameters click on the Add Parameter link. This will display the parameter name field and well as a check box to indicate if the parameter is required.

This is used both in the code generation (automatic parameter verification in the API frontend) and in the generated API documentation. For each time you click Add Parameter a new set of fields will be added allowing you add as many parameters as you would like. An example use of parameters would be if you required a username and password for use with your own ACL.
Once you are have completed editing your action and add parameters click Save. If all went well you should see a message that states "Action {NAME} Added"
Now that the action is created, you need to synchronize the codebase (This means that FRAPI will generate the skeleton code for your new actions). If you look at the top right of your administration interface you should see a "Sync Now" button.
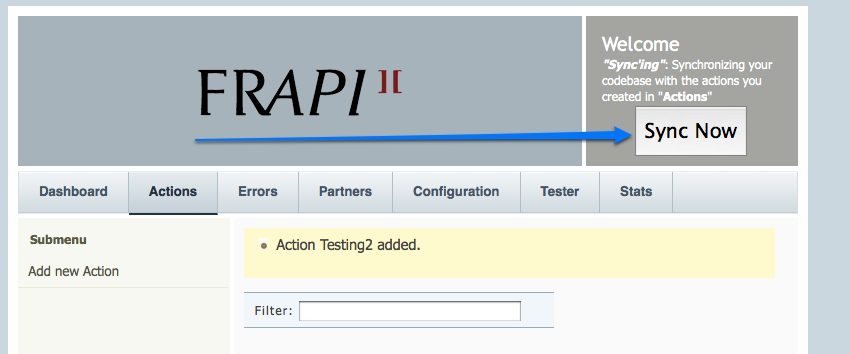
When you click on that button FRAPI grabs all the actions you created and generates the skeleton for the actions in the code base.
When it's done synchronizing, you will get a message that says "Development environment has been sychronized" and if you go to your FRAPI "custom" directory (Which is located in FRAPI_PATH/src/frapi/custom) you will see a folder called "Action" which will now contain the action you just created/synchronized.
Now that you have learned how to create an action, let's get to the fun stuff and look at an example. This example will show you how to create two actions and the Coding Actions section will teach you how to write the code.
Firstly let's start with our database, below is SQL to create the table we will be manipulating in MySQL. Feel free to modify as necessary for your database of choice.
        CREATE TABLE `users` (
          `user_id` int(11) NOT NULL AUTO_INCREMENT,
          `username` varchar(100) DEFAULT NULL,
          `password` varchar(40) DEFAULT NULL,
          `first_name` varchar(100) DEFAULT NULL,
          `last_name` varchar(100) DEFAULT NULL,
          PRIMARY KEY (`user_id`)
        );
Now we need to create two actions. One will be for handling the PUT action, the other for GET, POST, DELETE and HEAD. The reason this is necessary is that FRAPI's routing system cannot handle a route that has an optional argument. Since the PUT action will not require a user id it needs to be created seperately.
First up is our PUT action. Note the custom route does not contain a :user_id on the end. The : is how we define variables in our custom routes.
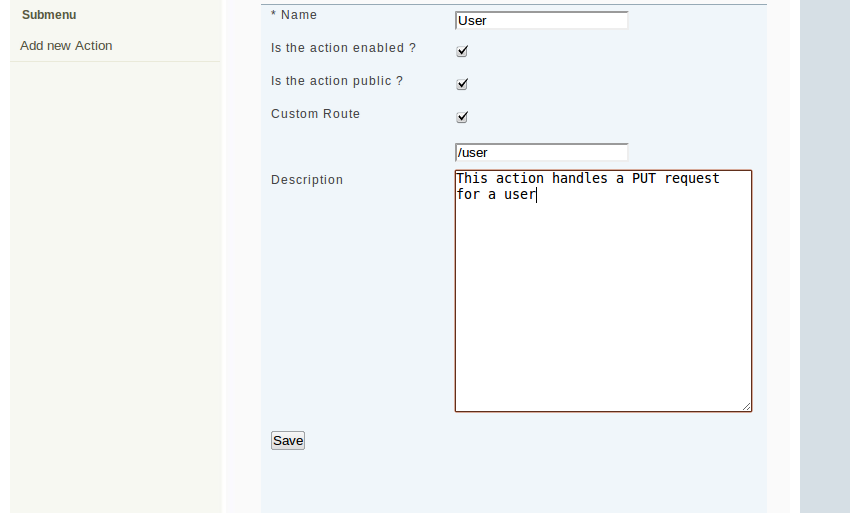
Once you have the above data entered, click "Save" to save your action.
Next up is our action to handle GET, POST, DELETE and HEAD. Since all of these methods require a user id to function properly we add :user_id to the end of our custom route
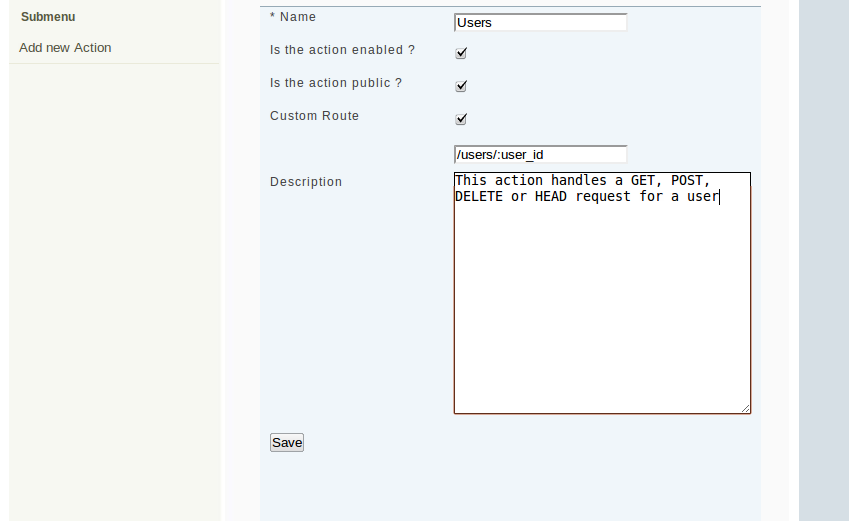
Once you have the above data entered, click "Save" to save your action. Then "Sync Now" to have FRAPI generate the skeleton code in your FRAPI_PATH/src/frapi/custom/Action directory.
Now that your skeleton code has been created please proceed to the Coding Actions section for details on how to code the actions you just created.